
Half Punch Moves Tier List (S–D)
Which techniques win physics exchanges—and which only look good in clips.
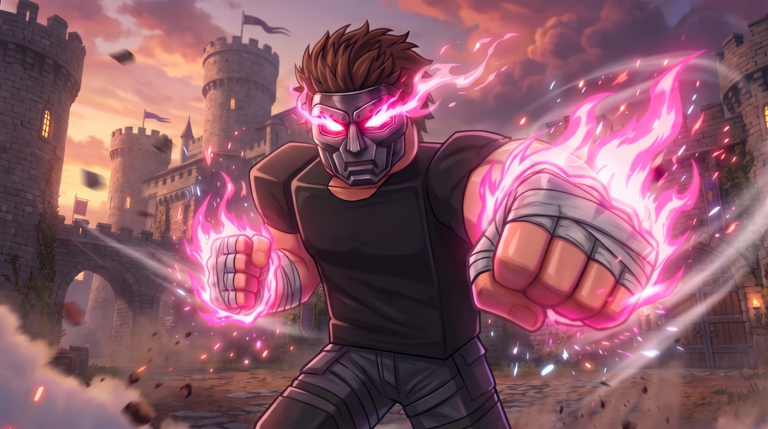
This Half Punch moves tier list ranks technique families for The Big G Studio’s Roblox physics fighter: punches, grabs, dropkicks, foot combos, and defensive spacing. Rankings assume legitimate play (no punch aura or infinite stamina scripts—see Scripts). Meta shifts after patches; re-test using Updates and a private bot server.
For criteria and philosophy, start at the Tier List Hub. For how to execute tools, read Combat Basics.
Tier legend
| Tier | Meaning |
|---|---|
| S | Highest consistency and lobby value |
| A | Excellent with practice |
| B | Solid situational |
| C | Niche or stylish |
| D | Low consistency / heavy self-risk when misused |
S tier
Disciplined punch strings
Short, intentional punches that connect and stop before stamina collapse. They create pressure, confirm hits via face/limb feedback, and set up grabs. Every archetype needs this—even kick mains. Lab it first in Getting Started style sessions.
Defensive spacing / disengage
Backing out of bad piles, circling third parties, and refusing empty-stamina trades. In seven-player lobbies, spacing wins more games than one flashy finisher. Counter-punchers build identities on this—see fighting styles.
Whiff-punish grabs
Grabs landed after missed dropkicks or panic flurries. High reward, readable rules, excellent stamina economy compared with endless swinging.
A tier
Measured dropkicks (earned range)
Dropkicks taken only after stepping into realistic range with stamina in reserve. Spectacular knockbacks and ragdolls, strong finisher potential, still risky if greed takes over.
Controlled flurry pressure
Burst punching that intentionally ends early. Strong for opening scared opponents; falls to B or lower if you never reset.
Post-ragdoll first punch
Being ready when you—or they—stand up. Timing the first meaningful hit after flailing separates mid players from lobby predators.
B tier
Foot jab / kick pressure without full dropkick commitment
Useful for checking space and annoying shield-less approaches. Less explosive than full dropkicks, safer when you are learning range.
Situational corner/edge punches
Pinning someone near environmental limits. Strong when you already won spacing; weak if you force it from across the map.
Style-switch feints
Changing rhythm between punch and grab threats. Effective against thinking opponents; wasted against pure mashers who ignore reads.
C tier
Highlight-only triple dropkick attempts
Looks incredible on YouTube; tanks stamina and gifts grabs when it fails. Save for bot experiments on the practice checklist, not every public round.
Panic grab spam
Mashing grab with no whiff read. Telegraphs badly and loses to basic punches.
Tunnel-vision finishing animations
Staying glued to a downed fighter while two others arrive. Ego tool. Lobby killer.
D tier
Zero-stamina hero swings
Attacking on empty. Feeds the Players Hub counter-puncher fantasy for free.
Blind airborne kick spam
Launching dropkicks with no camera on the target. Self-ragdoll simulator.
Ignoring third parties mid-string
Continuing a flurry while footsteps arrive behind you. Consistency rating: abysmal.
Family summaries
Punches
Peak placement: S for disciplined strings; C–D for mindless flailing. Punches are the language of Half Punch—fluency matters more than accent.
Grabs
Peak placement: S on whiff punish; C on spam. Grapplers should track confirm rate, not attempt count.
Dropkicks
Peak placement: A when earned; C–D when spammed. Physics makes successes addictive and failures educational.
Foot combos
Peak placement: B as pressure; lower when forced as pseudo-dropkicks without range.
Defensive spacing
Peak placement: S in multi-fighter chaos. Underrated because it does not always clip well.
How to climb the list in your own hands
- Film mentally: which tier did your last death belong to?
- Replace one D habit per session.
- Validate in bots, then publics—private servers guide.
- Recheck after status changes—November 2026.
- Keep binds honest via Controls.
What can reshuffle tiers
- Stamina retunes
- Grab window changes
- Kick velocity tweaks
- Bot behavior shifts in private servers
- Platform-side restrictions affecting who is online
When in doubt, re-run S-tier habits: disciplined punches, spacing, whiff grabs.
Related reading
- Tier List Hub
- Combat Basics
- Fighting styles
- Tools Hub
- Codes if you redeem gifts between lab sessions
- Links Hub for the official place
Play the S-tier game even when your highlight reel wants D-tier drama. Half Punch lobbies reward the fighter who still has stamina when everyone else is flailing.
Frequently Asked Questions
Quick answers for Half Punch fighters.
What is S-tier in Half Punch?
Disciplined punch strings, defensive spacing/disengage, and whiff-punish grabs currently headline S-tier for consistent lobby value.
Are dropkicks S-tier?
Earned-range dropkicks sit around A. Spam and blind kicks fall to C–D because of stamina cost and self-risk.
Does this list include scripted aura punches?
No. Rankings assume legitimate physics. Scripts break the meta and risk bans.
How often should I update my personal tier notes?
After every notable patch or availability return, and whenever your whiff rates change in bot drills.
What should beginners prioritize from this list?
S-tier punching and spacing first. Add grabs next. Delay dropkick specialization until stamina sense exists.
Where do I practice these placements?
Use private servers with bots and the Practice Checklist, then apply one habit at a time in public lobbies.